|
HKL-2000 Online Manual |
||
|
Previous Automatic Data Processing |
Table of Contents | |
Merging Multiple Scaled Files
You may come across situations that necessitate combining data sets that have been scaled separately. This most obvious application of this is when you are combining data from multiple crystals to obtain a complete data set, but there are other situations that may require this. Perhaps you have collected some data from a crystal, returned it to a storage dewar, and subsequently realized you had to collect more data on it. On many beamlines, the crystal mounting robot will often return the crystal to an orientation that is close enough that you can process and scale the data all at once, but scaling the different parts of the data separately will be more appropriate in some situations.
The Merge tab provides a straightforward interface to combine various scaled files. To start the process, you need to load the individual scaled files into the interface. There are two methods to do this. First, you may use the Load button to bring up a file selection dialog. If the files are in the same directory, you may select multiple files at once (Figure 113). In most cases, the files will be in separate directories and will have to be loaded one at a time. The other method of loading the files into the merge dialog is to copy them from the Project tab, using the From project button. Each scaled file in the will be copied to the list of scaled files. If you have some files that were not already stored in your project, select them and click To Project, and those files will be added to your project.
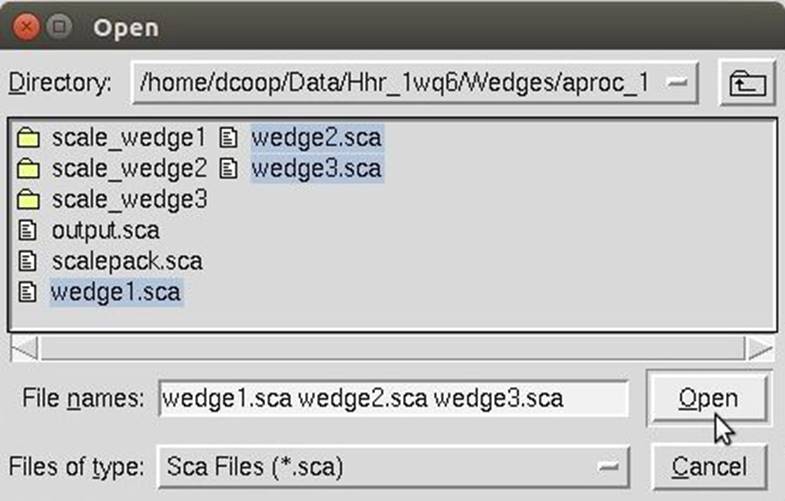
Figure 113. Selecting several files to merge.
To merge files together, you must first select at least two files you want to combine. Select a file by clicking within its row, and it will turn blue (Figure 114). The Analyse button can be used to look at the scaling results from a single set that is selected. By default, HKL will choose the unit cell from the first (highest on the list) file that is selected. If you would like to use the unit cell from another file, select that file first and click the Set Reference button.
If any of the files you have loaded into the screen have anomalous data, by default the Anomalous option will be selected, preserving any anomalous data you have. You may also choose the Auto Corrections option, which will decide for you if anomalous data is present. To merge the files, click the Merge button.
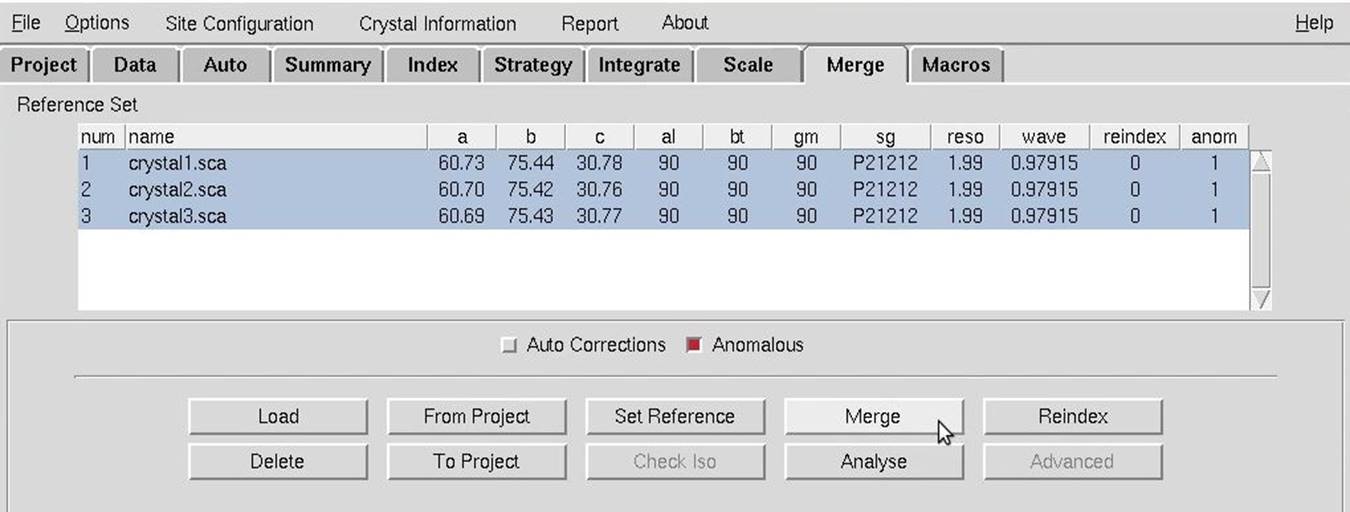
Figure 114. Files selected to merge.
You will immediately see the scaling results open in a new window, and the resulting file name will now appear in the sets window. You will notice that the graphs that plot values against the frame number will only have as many "frames" as the number of files you were merging. The other graphs will show the cumulative results. If the scaling results are not good, you may need to reindex one or more of the data sets. The Reindex button opens the reindex dialog and allows you to reindex the sets independently.
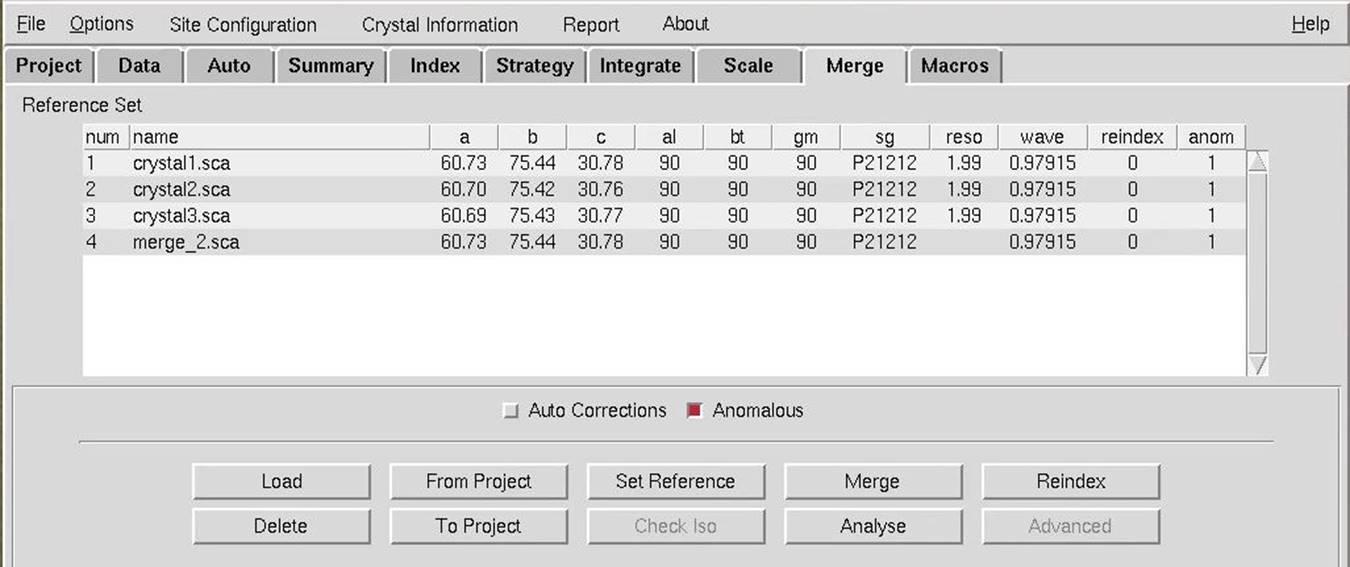
Figure 115. The merged file will appear in the list.
|
HKL-2000 Online Manual |
||
|
Previous Automatic Data Processing |
Table of Contents | |